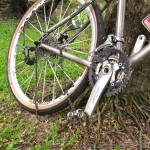
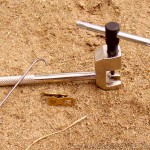
Most importantly, you need a chain tool. If your multi tool does not have one, they are available to purchase separately. Ideal but not essential is a chain quick link or missing link, as it is more commonly referred to. This makes joining the chain a very quick job. Do not panic if you do not have one, as it is still possible to rejoin the chain without one.
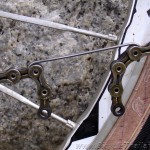
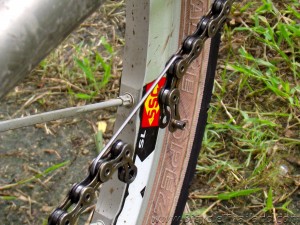
Before rejoining the chain, it will need to be put back onto the bike; through the gears and over the cassette sprocket. It is a good idea when cleaning your bike to become familiar with how the chain loops around the cassette sprockets and chain rings, for just this reason.
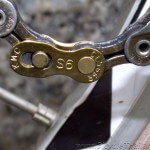
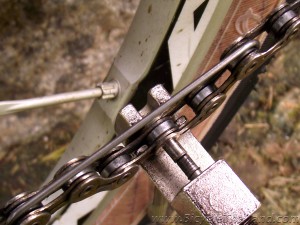
Next, the broken link of the chain will need to be removed; do this by placing the chain into the chain tool closest to the broken link. Make sure the chain is secure; turn the handle, which will push the pin out. You will then be left with two identical ends of the chain. Once the chain is prepared, insert the new chain link onto either end of the chain. Join the links together by pulling them closed. If you do not have a quick chain link the broken link will still need to be removed, however this time leaving the chain pin in.
Using the chain tool, push the chain pin back into the chain until an equal amount is visible at either end; be sure not to push the pin in too far.
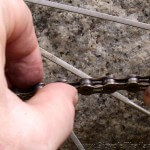
It is possible that the chain link has become tight over time and will not move freely. Rectifying this is simple; take hold of either side of the link and bend the chain backwards and fourth a few times. Be advised that this is only a temporary fix and a new chain will be required.
In order to help prevent the chain from breaking in the first place, it is worth spending a little time looking after it. After all, your chain has to do a lot of work over its life and believe it or not, it will not last forever!
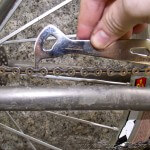
By replacing the chain before it gets too worn the cassette sprockets will not need replacing as often, which can be very costly.
Lubing your chain properly helps prevent breakage and will extend the life of your chain.
Before putting fresh oil on the chain be sure to wipe off any old oil. This can be done with an old rag or a chain cleaner available from your local bike shop.
Using too much oil can be just as bad as having a dry chain. An oil soaked chain will pick up lots of dirt and grit, accelerating the wear of the chain and cassette sprocket. It will also flick oil all over you, your bike and anything else in close range!
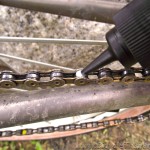
There are different lubes available for different conditions. It is worth trying the different types to find the one you like best. Personally I prefer wax lube, as it is self-cleaning, meaning more time on my bike!
Now that you have the knowledge to repair a broken chain, you can take your bike out on an epic journey with confidence.
Whatever you ride, wherever you ride it, ride hard.
Leave a Reply